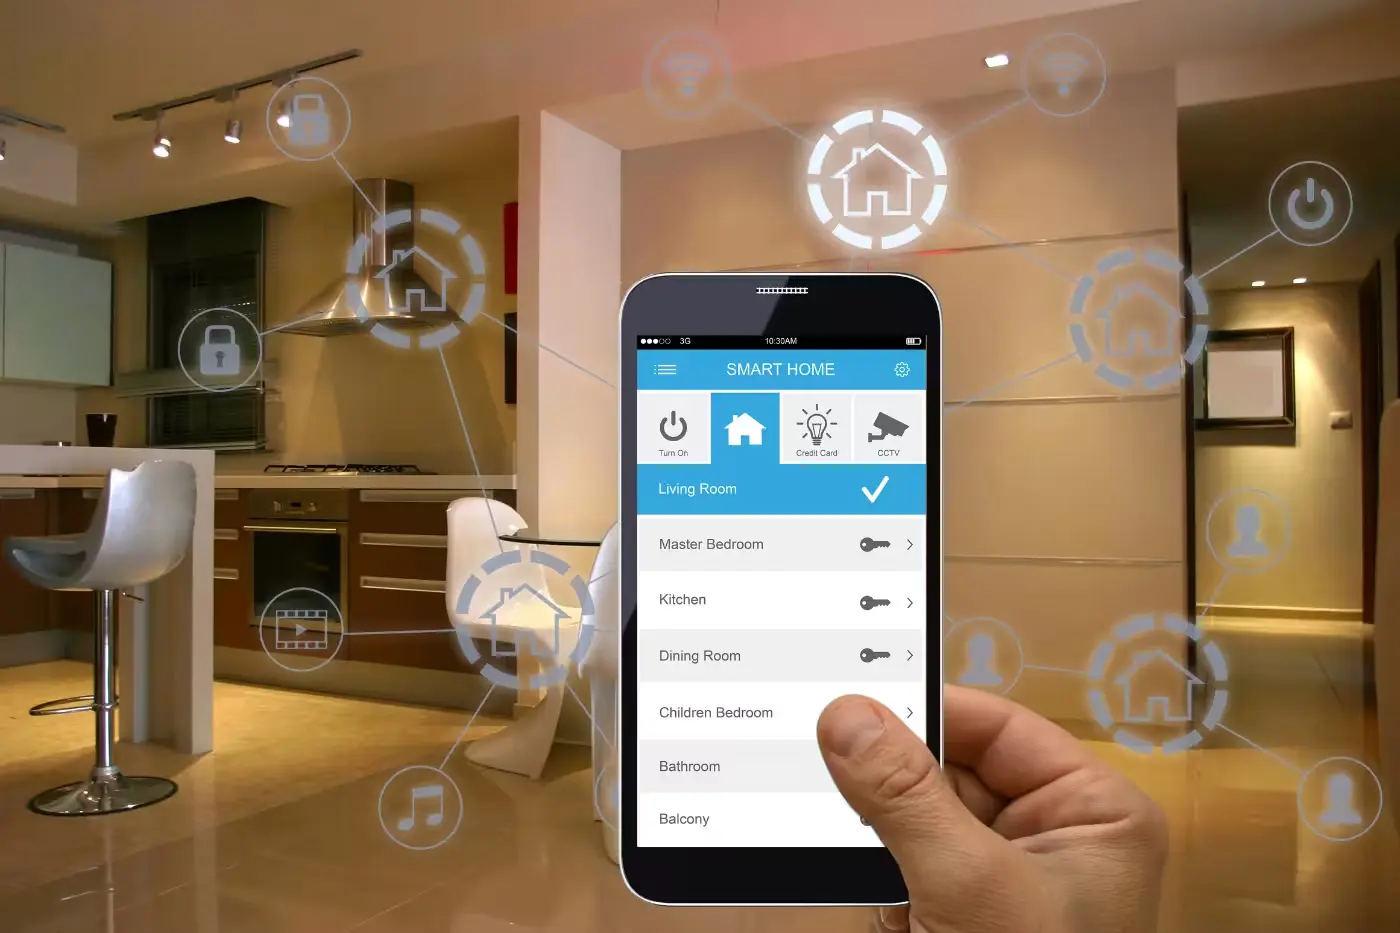
The allure of a smart home lies in its ability to make everyday tasks more efficient and enjoyable. From controlling lights with a voice command to remotely managing the home’s security system, smart home devices bring convenience, security, and even energy savings. Here’s how to set up your own smart home, step-by-step.
Step 1: Choose a Smart Home Ecosystem
The first step is deciding which ecosystem you want to build your smart home around. Most smart home devices are compatible with multiple ecosystems, but choosing one can simplify the setup and management:
Amazon Alexa
- Pros: Extensive range of compatible devices, robust voice commands, affordable.
- Cons: Heavy integration with Amazon’s services.
- Start with: Amazon Echo (~$100)
Google Assistant
- Pros: Excellent integration with Google services, powerful voice recognition.
- Cons: Smaller range of compatible devices compared to Alexa.
- Start with: Google Nest Hub (~$90)
Apple HomeKit
- Pros: Strong privacy features, seamless integration with Apple devices.
- Cons: Generally more expensive, limited to Apple products.
- Start with: Apple HomePod Mini (~$99)
Samsung SmartThings
- Pros: Highly compatible with a range of brands, robust automation features.
- Cons: Slightly more complex setup.
- Start with: Samsung SmartThings Hub (~$70)
Step 2: Set Up Your Hub
Once you’ve chosen an ecosystem, the next step is to set up its hub. The hub serves as the central control point for your smart devices.
- Amazon Echo: Plug in the Echo device, connect it to Wi-Fi using the Alexa app, and follow the on-screen instructions.
- Google Nest Hub: Plug in the Nest Hub, open the Google Home app, and follow the setup prompts.
- Apple HomePod Mini: Plug in the HomePod Mini, hold your iPhone close, and follow the setup instructions on your Apple device.
- Samsung SmartThings Hub: Connect the hub to your router, open the SmartThings app, and follow the setup instructions.
Step 3: Install Smart Devices
Now it’s time to start adding smart devices to your network. Here are some categories of devices to consider:
Lighting
- Popular Choices: Philips Hue, LIFX, TP-Link Kasa.
- Setup: Screw in the smart bulbs, open the corresponding app, and follow the pairing instructions.
Speakers
- Popular Choices: Amazon Echo, Google Nest Audio, Apple HomePod Mini.
- Setup: Usually similar to the hub setup, as many smart speakers also function as hubs.
Thermostats
- Popular Choices: Nest Thermostat, Ecobee.
- Setup: Install the thermostat according to the manufacturer’s instructions and connect it to your Wi-Fi network.
Plugs and Outlets
- Popular Choices: TP-Link Kasa Smart Plug, Wemo Mini.
- Setup: Plug them into an outlet, connect to Wi-Fi via the app, and follow the setup instructions.
Security Systems
- Popular Choices: Ring Video Doorbell, Arlo Cameras, SimpliSafe.
- Setup: Mount the devices as needed, then connect them to your network via the app.
Smart Locks
- Popular Choices: August Smart Lock, Schlage Encode.
- Setup: Replace your existing lock with the smart lock, follow the installation guides, and pair it with your smart home app.
Step 4: Configure Automation and Routines
Most smart home ecosystems offer the ability to set up automations and routines that make your devices work together in useful ways:
- Google Home App: Use the “Routines” feature to create custom commands. For example, set up a “Good Morning” routine to turn on lights, start the coffee maker, and read the weather.
- Amazon Alexa App: Use “Alexa Routines” to automate tasks. For example, set a “Bedtime” routine to lock doors, adjust the thermostat, and turn off lights.
- Apple Home App: Create “Scenes” to control multiple devices with a single command. For instance, a “Movie Night” scene could dim the lights, close smart blinds, and turn on your TV.
- SmartThings App: Utilize “Automations” to link devices together. An example could be to turn on lights and send an alert if a security camera detects motion.
Step 5: Ensure Security
With greater convenience comes greater responsibility. Here are a few tips to keep your smart home secure:
- Network Security: Use a strong, unique password for your Wi-Fi network and enable WPA3 encryption if available.
- Device Updates: Regularly update the firmware of your smart devices to protect against vulnerabilities.
- Secure Accounts: Enable two-factor authentication (2FA) on your smart home ecosystem accounts.
- Privacy Settings: Review and adjust privacy settings in your apps, especially for devices with cameras or microphones.
Setting up a smart home can transform the way you interact with your living space, making it more convenient, secure, and energy-efficient. Start with choosing a smart home ecosystem, set up your hub, and gradually add devices according to your needs. Don’t forget to configure automations and routines to get the most out of your investment, and always prioritize security.
Here are a few budget-friendly gadgets to get you started:
- Wyze Cam v3: An affordable security camera with lots of features. (~$36.99)
- Kasa Smart Plug HS103: Reliable and budget-friendly smart plugs. (~$13.99/each)
- Echo Dot (4th Gen): A compact, affordable smart speaker. (~$49.99)
- Philips Hue White A19 Smart Bulb: Budget-friendly smart bulbs. (~$14.99)
- TP-Link Kasa Smart Light Switch: Affordable and reliable smart light switches. (~$19.99)
By following these steps and recommendations, you’ll be well on your way to creating a smart, connected, and efficient home. Enjoy the convenience and peace of mind that comes with a well-configured smart home setup!

