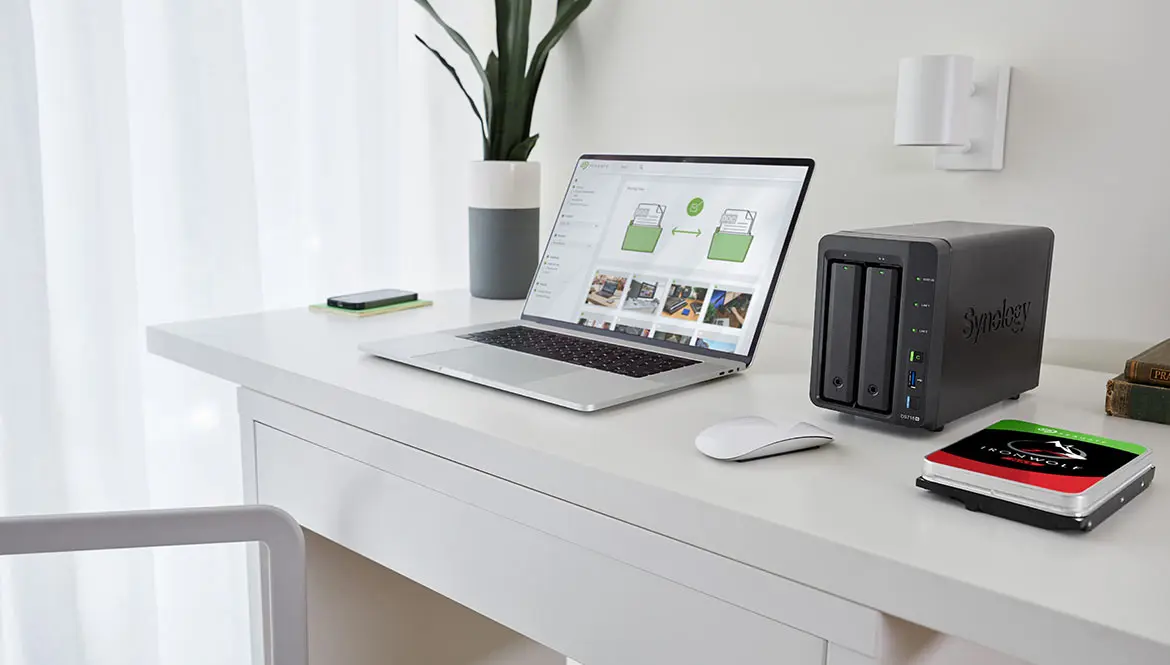
Building your own NAS (Network Attached Storage) system for home media streaming is a rewarding project that gives you control over your data and media. Whether you’re streaming movies, music, or accessing files remotely, a NAS provides centralized storage that can be accessed by multiple devices on your network.
Whether you’re a media enthusiast or just looking to consolidate your digital life, building a NAS for home media streaming is a project that offers immense benefits.
What is a NAS and Why Do You Need One?
A NAS is a dedicated storage device that connects to your home network, allowing multiple users and devices to access files and stream media simultaneously. Unlike traditional cloud services, a NAS provides complete control over your data, with the added benefit of being customizable to fit your specific needs.
Key Benefits:
- Centralized Storage: All your media in one place, accessible from any device on your network.
- Scalability: Easily add more storage as your media library grows.
- Data Redundancy: Protect your files with RAID (Redundant Array of Independent Disks) configurations that safeguard against drive failures.
- Remote Access: Stream your media from anywhere with an internet connection.
Planning Your DIY NAS
Before purchasing components, it’s essential to plan your NAS build according to your specific needs. Consider the following:
- Storage Capacity: Estimate the amount of storage you’ll need based on your media library size and future growth. If you have a large collection of 4K movies or plan to store uncompressed music, you’ll need more storage.
- Performance Requirements: For streaming multiple HD or 4K streams simultaneously, you’ll need a CPU with good multi-threading capabilities and sufficient RAM.
- Budget: DIY NAS builds can range from budget-friendly to high-end, depending on your requirements and the components you choose.
Choosing the Right Components
CPU
The CPU is crucial for tasks like transcoding, which converts media files to formats compatible with your devices. For most home media servers, a mid-range CPU with integrated graphics, such as the Intel Core i5-12400 or AMD Ryzen 5 5600G, is ideal. These CPUs offer a good balance between power efficiency and performance.
- Cost: ~$150
Motherboard
Choose a motherboard compatible with your CPU and offering sufficient SATA ports for connecting multiple hard drives. A board with at least 4 SATA ports and an additional M.2 slot for SSDs is recommended. For instance, the ASUS TUF Gaming B550M-PLUS is a solid choice for AMD builds.
- Cost: ~$120–$180
RAM
For most NAS builds, 8GB of RAM is sufficient, but if you plan to run multiple applications or virtual machines, consider upgrading to 16GB or 32GB. Corsair Vengeance LPX 16GB DDR4 is a reliable and affordable option.
- Cost: ~$40–$80
Storage Drives
Your choice of storage drives will depend on your storage needs and budget. For NAS applications, it’s crucial to use drives designed for continuous operation. The Western Digital Red Plus 4TB or Seagate IronWolf 4TB are excellent choices.
- Cost: ~$100 per 4TB drive
Power Supply (PSU)
A quality PSU is essential for stable operation. Look for a unit with an 80+ Bronze certification or higher, like the Corsair CX550M. Ensure it has enough wattage to power all your components, with some headroom for future expansion.
- Cost: ~$50–$70
Case
Your NAS case should have ample space for multiple drives, good airflow, and be compact enough to fit in your chosen location. The Fractal Design Node 304 is a popular option for NAS builds, offering room for six drives in a compact form factor.
- Cost: ~$90–$120
Cooling
Ensure adequate cooling for your CPU and drives, especially if your NAS will be running 24/7. A reliable CPU cooler like the Cooler Master Hyper 212 EVO and case fans are recommended.
- Cost: ~$35
Assembling Your DIY NAS
Install the CPU and RAM
- Begin by installing the CPU into the motherboard’s socket, following the manufacturer’s instructions. Apply thermal paste and attach the CPU cooler.
- Insert the RAM sticks into the appropriate slots on the motherboard.
Mount the Motherboard and Power Supply
- Secure the motherboard into the case, ensuring all standoffs are correctly aligned.
- Install the power supply in its designated spot and connect the necessary cables to the motherboard, CPU, and drives.
Install Storage Drives
- Mount your hard drives and SSDs into the case. Connect them to the motherboard using SATA cables, and provide power from the PSU.
Connect Fans and Other Peripherals
- Attach all case fans to the motherboard or a fan hub, ensuring optimal airflow. Connect any additional peripherals, such as network cards or additional SATA controllers.
Initial Power-On
- Once all components are in place, perform an initial power-on to check that all hardware is functioning correctly. Access the BIOS to ensure that the drives are detected and that the system is stable.
Installing and Configuring NAS Software
Installing the Operating System
- TrueNAS Core is an excellent, free choice for your NAS OS. It’s designed specifically for network storage, offering features like ZFS file system support, data snapshots, and more.
- Download the TrueNAS Core ISO and create a bootable USB drive.
- Connect a monitor and keyboard to your NAS, boot from the USB, and follow the installation prompts to install TrueNAS on your boot drive (an SSD is recommended for the OS).
Setting Up Storage Pools
- In TrueNAS, create a storage pool from your installed drives. This pool will be the foundation of your NAS storage. Use a RAID configuration that suits your needs (e.g., RAID-Z for a balance of redundancy and performance).
Installing Media Server Software
- TrueNAS allows for the installation of plugins, making it easy to set up media server software like Plex or Emby.
- Navigate to the Plugins section in TrueNAS and select your preferred media server.
- Follow the setup wizard to configure your media server, pointing it to your media folders on the storage pool.
Network Configuration and Remote Access
Configure Network Settings
- Ensure your NAS is accessible over your home network. Assign a static IP address to avoid network conflicts and make it easier to access your NAS.
- If you plan to stream media remotely, configure port forwarding on your router for the ports used by your media server software (e.g., Plex typically uses port 32400).
Remote Access Setup
- To access your NAS from outside your home network, consider setting up a Dynamic DNS (DDNS) service. TrueNAS supports various DDNS providers, making it simple to configure.
Advanced Features and Customization
Automated Backups
- Set up automated backups within TrueNAS to protect your data. You can back up to an external drive or a cloud service like Amazon S3.
- Enable ZFS snapshots for quick recovery of files if needed.
User and Permission Management
- Create user accounts with specific permissions to control access to your NAS. This is especially useful if multiple people will be using the NAS for different purposes.
Transcoding and Media Optimization
- Configure transcoding settings within your media server software to optimize playback on various devices, especially those with limited support for certain codecs.
Estimated Total Cost and Considerations
- Component Costs: ~$800–$1,300, depending on the specifications and number of drives.
- Ongoing Costs: Power consumption, potential software subscriptions (e.g., Plex Pass), and drive replacements as needed.
Building a DIY NAS for home media streaming offers unparalleled control over your media environment. By carefully selecting your components and configuring your system, you can create a powerful, scalable, and secure media hub tailored to your specific needs. Whether you’re streaming movies to your TV, accessing your music library on the go, or backing up important files, your DIY NAS will serve as the backbone of your digital lifestyle.
Embrace the process, and enjoy the satisfaction of crafting a media server that’s truly your own.
Disclaimer: This article may contain affiliate links that help us earn commissions.

